MTD Series 410 Specifications
Browse online or download Specifications for Mini tillers MTD Series 410. MTD Series 410 Specifications User Manual
- Page / 20
- Table of contents
- TROUBLESHOOTING
- BOOKMARKS
- (November29,2007) 1
- 71F1F1F1F1F1F1F1F1F1E 2
- EEEEEEEEEEE 2
- CALIFORNIA PROPOSITION 65 3
- Training 2 3
- Preparation 3
- Maintenance&Storage 4
- SparkArrestor 5
- AverageUsefulLife 5
- SAVETHESEiNSTRUCTiONS! 5
- Assembly& Set-Up 6
- HandlebarAssembly 4 7
- GearShift Rod 7
- Adjustments 8
- Gas& OilFill-Up 9
- Controlsand Features 10
- Operation 11
- SECTION S-- OPERATION 12
- Maintenance& Adjustments 13
- Off-SeasonStorage 14
- Belt Replacement 15
- Troubleshooting 16
- ReplacementParts 17
- SECTION11 = NOTES 19 19
- GDOC-lO0015 REV.B 20
Summary of Contents
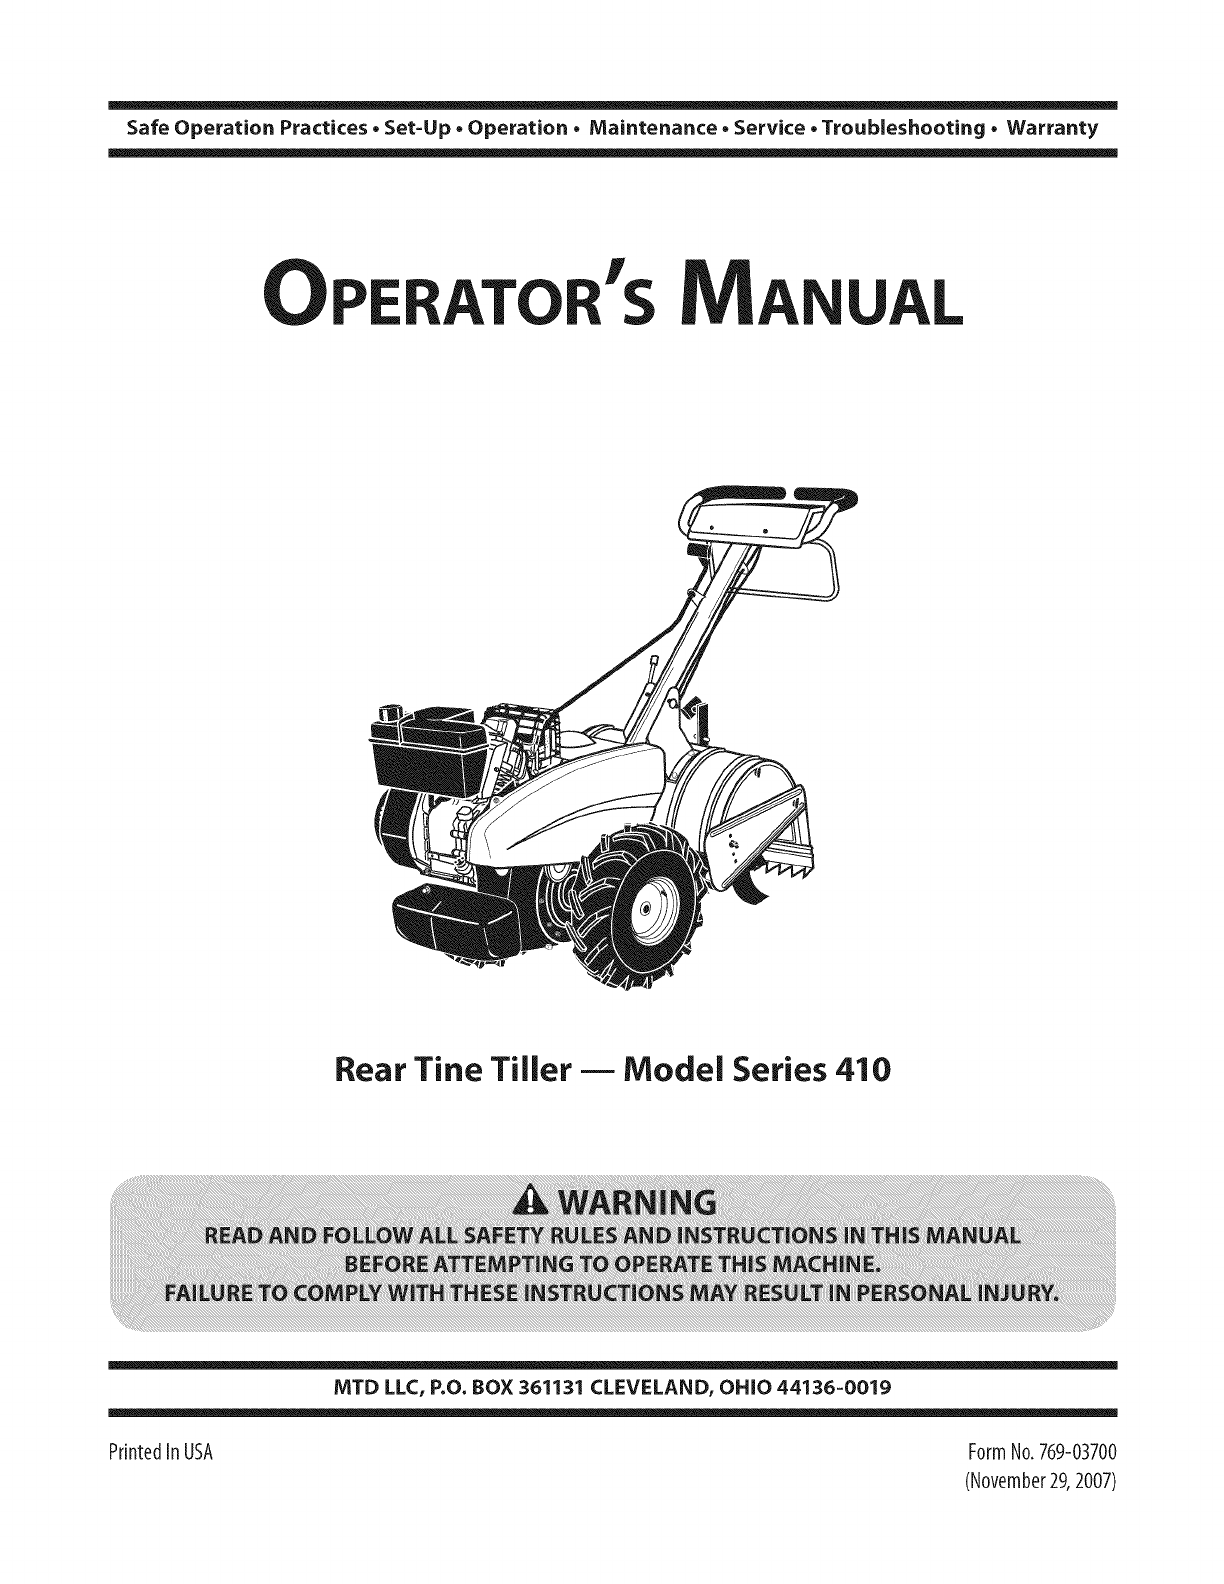
Safe Operation Practices • Set-Up • Operation • Maintenance • Service • Troubleshooting • Warranty'sLRear Tine Tiller m Moclel Series 410MTD LLC,
Controlsand Features4Clutch HandleHandle AdjustmentCrankj Depth StakeEngineControlsFigure 44ChokeLever(if equipped)See the separate Engine Operator&ap
OperationStarting the Enginei_ll WARNING! Read, understand, and follow allinstructions and warnings on the machine and inthis manual before operating.
5. For further depth, raise the depth stake and side shieldsand also make one or two more passes over the area.6. When tilling loose soil, the depth s
Maintenance& Adjustments6_ ARNING! Disconnect the spark plug wire andground it against the engine before performing anymaintenance or repairs.Main
Off-SeasonStorageIf the tiller will not be used for a period longer than 30 days, thefollowing steps should be taken to prepare the tiller for storage
Service7Belt ReplacementYour tiller has been engineered with a belt designed for longlife and optimal performance. It should never be replaced witha n
TroubleshootingProblemEngine fails to startCause1, Fuel tankempty, or stale fuel. 1.2. Throttle control lever not in correct starting 2.position (if e
ReplacementParts9Component [ Part Number and Description754-0434 V-Belt, I/2x 51.17742-0547 Outer Tine (LH)742-0545 Inner Tine (LH)742-0456 Outer Tine
SECTION11 = NOTES 19
ToTheOwner1ThankYouThank you for purchasing a Garden Tiller manufactured byMTD LLC. It was carefully engineered to provide excellentperformance when p
MANUFACTURER'S LiMiTED WARRANTY FORThe limited warranty set forth below is given by MTD LLC withrespect to new merchandise purchased and used in
importantSafeOperationPractices2,AWARNING! This symbol points out important safety instructions which, if not followed,could endanger the personal saf
d_e_f.g.When practical, remove gas-powered equipmentfrom the truck or trailer and refuel it on the ground.If this is not possible, then refuel such eq
9. If the fuel tank has to be drained, do this outdoors.10. Observe proper disposal laws and regulations for gas, oil,etc. to protect the environment.
Assembly& Set-Up3Contents of CartonOneTillerOne Depth StakeOne Handlebar AssemblyOne Operator's ManualOne Shift RodOne Engine Operator's
HandlebarAssembly 4.1. Remove the handle adjustment crank, flange nut, retainerbracket, shoulder bolt, and lock nut from the pivot bracket.2. Place th
3_Insert the end of the gear shift rod through the opening inthe top of the shift cover and into the shift bracket. First,secure the rubber washer the
Set-UpTiresThe tires on your tiller may be over-inflated for shippingpurposes. Reduce the tire pressure before operating. Therecommended operating tir
More documents for Mini tillers MTD Series 410

Related products and manuals for Mini tillers MTD Series 410

 (56 pages)
 (32 pages)
(20 pages)
(12 pages)
(12 pages)
(33 pages)
(52 pages)
(32 pages)
(32 pages)
(20 pages)
(12 pages)
(12 pages)
(33 pages)
(52 pages)
(32 pages)

 (36 pages)
(17 pages)
(36 pages)
(17 pages)
 (652 pages)
(20 pages)
(55 pages)
(652 pages)
(20 pages)
(55 pages)
 (21 pages)
(23 pages)
(21 pages)
(23 pages)
© 2020, manymanuals.com. All rights reserved. | 0.095 s |
 Manymanuals.com
 Manymanuals.de
 Manymanuals.fr
 Manymanuals.it
 Manymanuals.pl
 Manymanuals.cz
 Manymanuals.es
 Manymanuals-pt.com
Comments to this Manuals